Repackage Adobe Air-based Apps for OS X
/A seemingly grey area when doing a Google search, is how to repackage apps created with Adobe Air for OS X deployment. It's really simple to deploy these apps if you know your target audience have Adobe Air's runtime already installed, but what if they don't? How do you distribute Air along with the app itself and package it in a standard .pkg file? To get started, you'll need a few tools for the job. I've provided links to grab the tools I use. Adobe requires you to apply for distribution before you can get their "enterprise runtime", quite an annoying move on their part, but lets just go with that. (UPDATE: You can use the normal Air installer for OS X that you get from http://get.adobe.com/air, but you're not suppose to, due to licensing.) (UPDATE #2: Adobe Air Runtime Guide)
- WhiteBox Packages (a personal favourite)
- Adobe Air runtime
- Air app you want to package (Cognician linked)
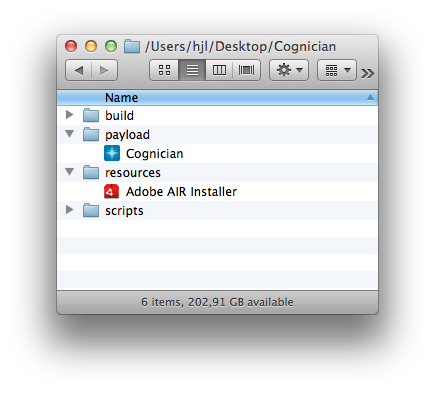
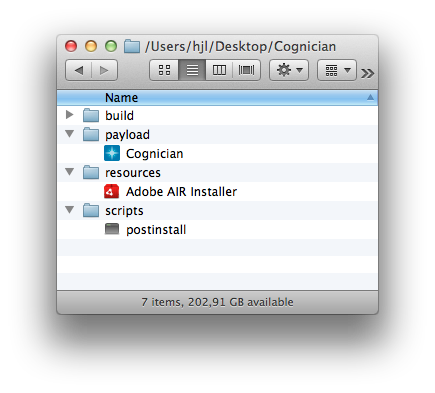
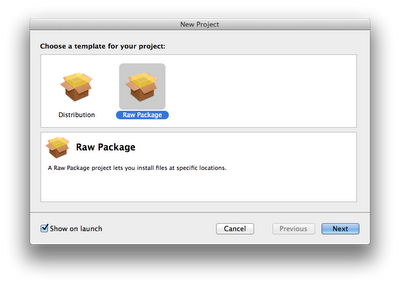
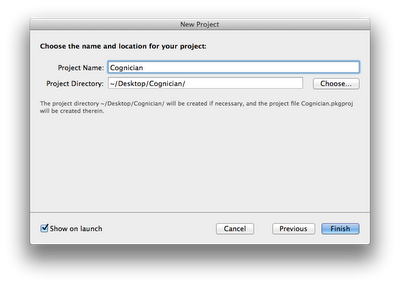
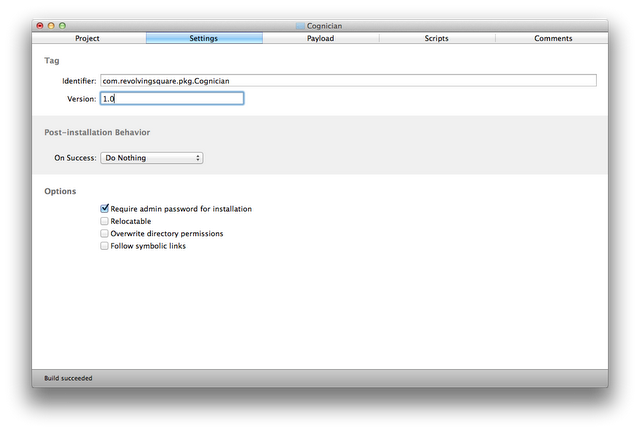
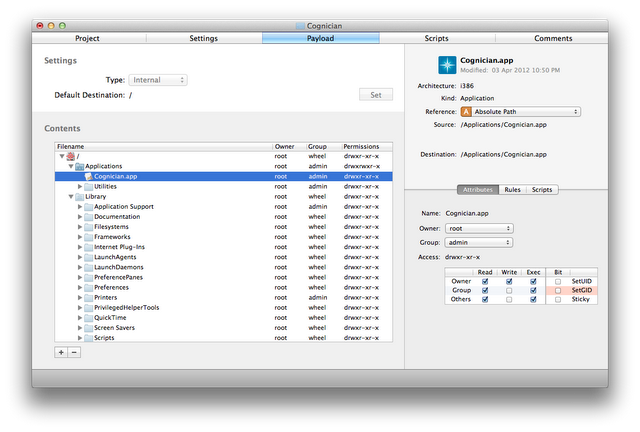
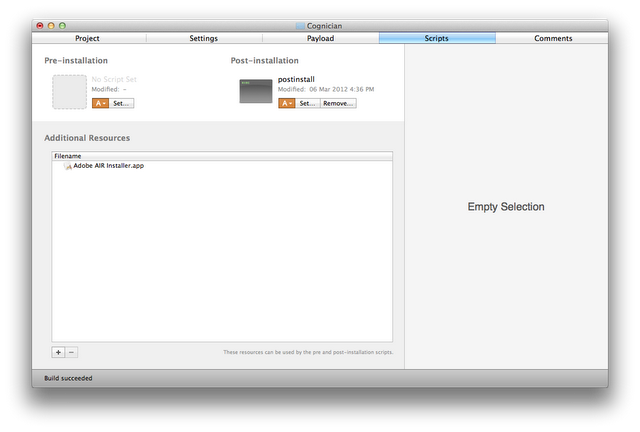
You don't have to follow my example to the letter, but its good to find and stick to a structured way for project folders when building your packages. I simply created a folder Cognician on my desktop with a few subfolders and then populated the payload and resources folders.
Create the Script
Open Terminal.app and type the following commands:
- Create the file: touch ~/Desktop/Cognician/scripts/postinstall.sh
- Make it executable: chmod +x ~/Desktop/Cognician/scripts/postinstall.sh
- Edit it: nano ~/Desktop/Cognician/scripts/postinstall.sh
- Add the following lines to the script:
#!/bin/sh
# Execute Adobe AIR Installer "Adobe AIR Installer.app/Contents/MacOS/Adobe Air Installer" -silent -eulaAccepted
- Save the script by pressing ctrl + x, then press y and hit enter
6. Press Cmd + B to build the package.All done, you'll find the package in the 'build' folder. Now just test your package and if all is well. You're good to deploy it!
Notes: To verify that the Adobe Air installer works you can tail -f /var/log/system.log | grep "Adobe Air" while installing the package. Look for output like this...
Runtime Installer begin with version 3.1.0.4880 on Mac OS 10.7.3 x86 Commandline is: -silent -eulaAccepted No installed runtime detected Launching subprocess with commandline /bin/chmod -fRP +rw "/Users/Shared/Library/Application Support/Adobe" Launching subprocess with commandline /usr/sbin/chown -hfRP root "/var/root/Library/Application Support/Adobe" Launching subprocess with commandline /bin/chmod -fRP +rw "/var/root/Library/Application Support/Adobe" Starting silent runtime install. Installing runtime version 3.1.0.4880 Registering /Applications/Utilities/Adobe AIR Application Installer.app/Contents/Info.plist Launching subprocess with commandline /usr/sbin/chown -hfRP root:wheel "/Library/Frameworks/Adobe AIR.framework" Subprocess chown succeeded Launching subprocess with commandline /usr/sbin/chown -hfRP root:wheel "/Applications/Utilities/Adobe AIR Application Installer.app" Subprocess chown succeeded Launching subprocess with commandline /usr/sbin/chown -hfRP root:wheel "/Applications/Utilities/Adobe AIR Uninstaller.app" Subprocess chown succeeded Runtime Installer end with exit code 0

